Apply
amazing Bokeh effects to your images files with
Affinity Photo
|
Previous
Top
Next
|
First, read this tutorial
if you haven't installed the Imagelys Plugin for Affinity Photo.
You can apply Bokeh effects to your images files very easily
with Affinity Photo. For Mac and PC only.
 Step 1 Step 1
With Affinity Photo, in the main menu, click to open and choose an image file.
 Step
2 Step
2
Then, in the Layer menu, click to Duplicate the Background.
 Step
3 Step
3
Then, click to Selection Brush Tool and drag the mouse into
the flower and make a selection.
You can use the Refine Selection tool to improve the selection.
 Step
4 Step
4
Then, in the main menu, click to Copy and next click to Paste
for create a new layer.
 Step
5 Step
5
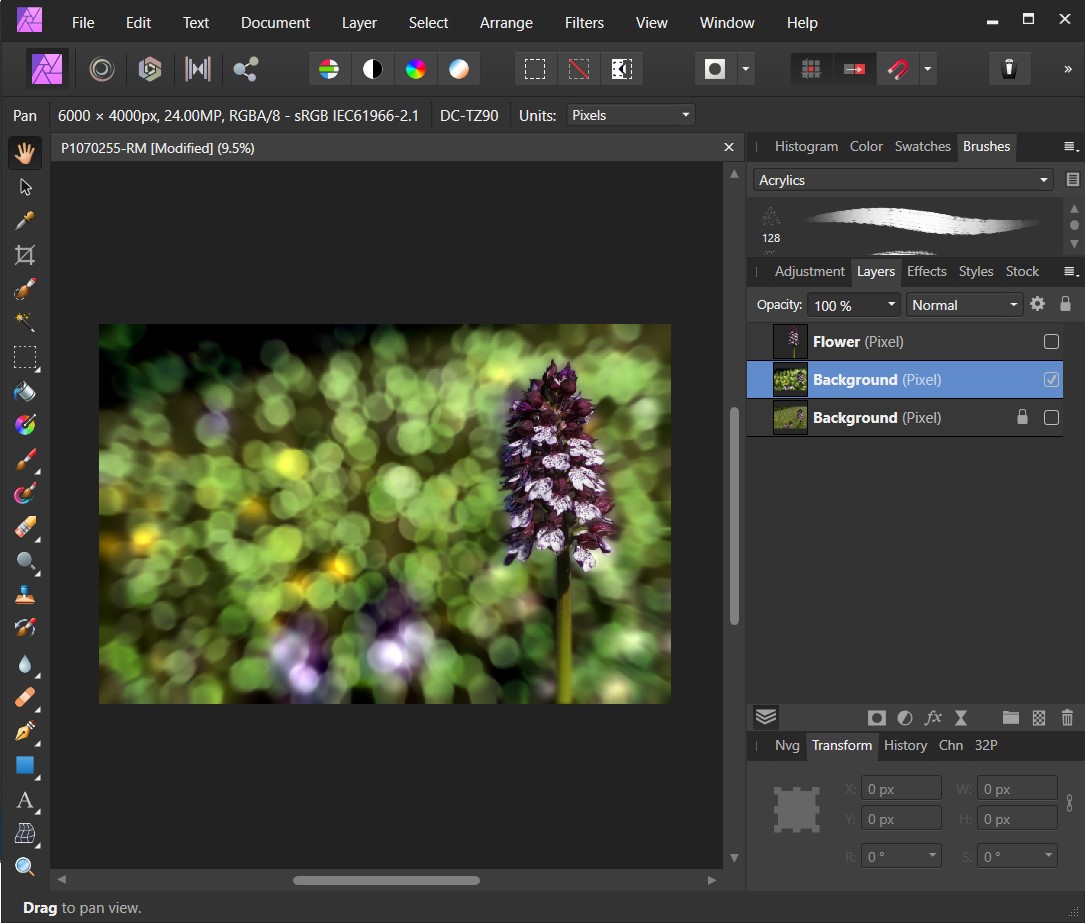
Then, hide the Flower layer and hide the Background. Now, click
to this layer Background.
 Step
6 Step
6
First, in the Select menu, click to Grow / Shrink.
 Step
7 Step
7
Now, drag the trackbar Radius to -28 px and click to Apply
button.
 Step
8 Step
8
Then, click to Cut in the Edit menu.
 Step
9 Step
9
First, click to Deselect in Select menu.
 Step
10 Step
10
Next, into the Filters menu, click to Plugins -> Imagelys
-> Imagelys Picture Lab.
 Step
11 Step
11
Now, wait the start of Imagelys Picture Lab application.
 Step
12 Step
12
First, click to Select one Filter for open the ToolPalette.
 Step
13 Step
13
Now, click to Effects - Paint Styles 3 and click to Bokeh Effect
07.
 Step
14 Step
14
Then, in the Filter Parameters dialog box, you can adjust parameters
of the Bokeh effect.
Now, click to Apply this filter settings to the image.
 Step
15 Step
15
After a little while (the rightmost portion of the status bar
shows the progress), the rendered effect will be displayed.
Now, you can click the Validate button for validate your work
and return to Affinity Photo.
 Step
16 Step
16
First, show and select the Flower layer. Then, click to Duplicate
this layer.
 Step
17 Step
17
Then, select the Flower layer and select this layer Background.
 Step
18 Step
18
Now, in the Layer menu, click to Merge Selected.
 Step
19 Step
19
First, show and select the Flower layer. Then, click to Selection
From Layer into the Select menu.
 Step
20 Step
20
Then, hide the Flower layer. Now, click to this layer Background.
 Step
21 Step
21
First, in the Select menu, click to Grow / Shrink.
 Step
22 Step
22
Now, drag the trackbar Radius to 180 px and click to Apply
button.
 Step
23 Step
23
Then, click to Blur -> Depth Of Field Blur into the Filters
menu.
 Step
24 Step
24
First, make an ellipse arond the Flower. Drag the trackbar
Radius to 42 px. Then, click the Apply button.
 Step
25 Step
25
Now, click to Save as in the main menu and enter a filename..


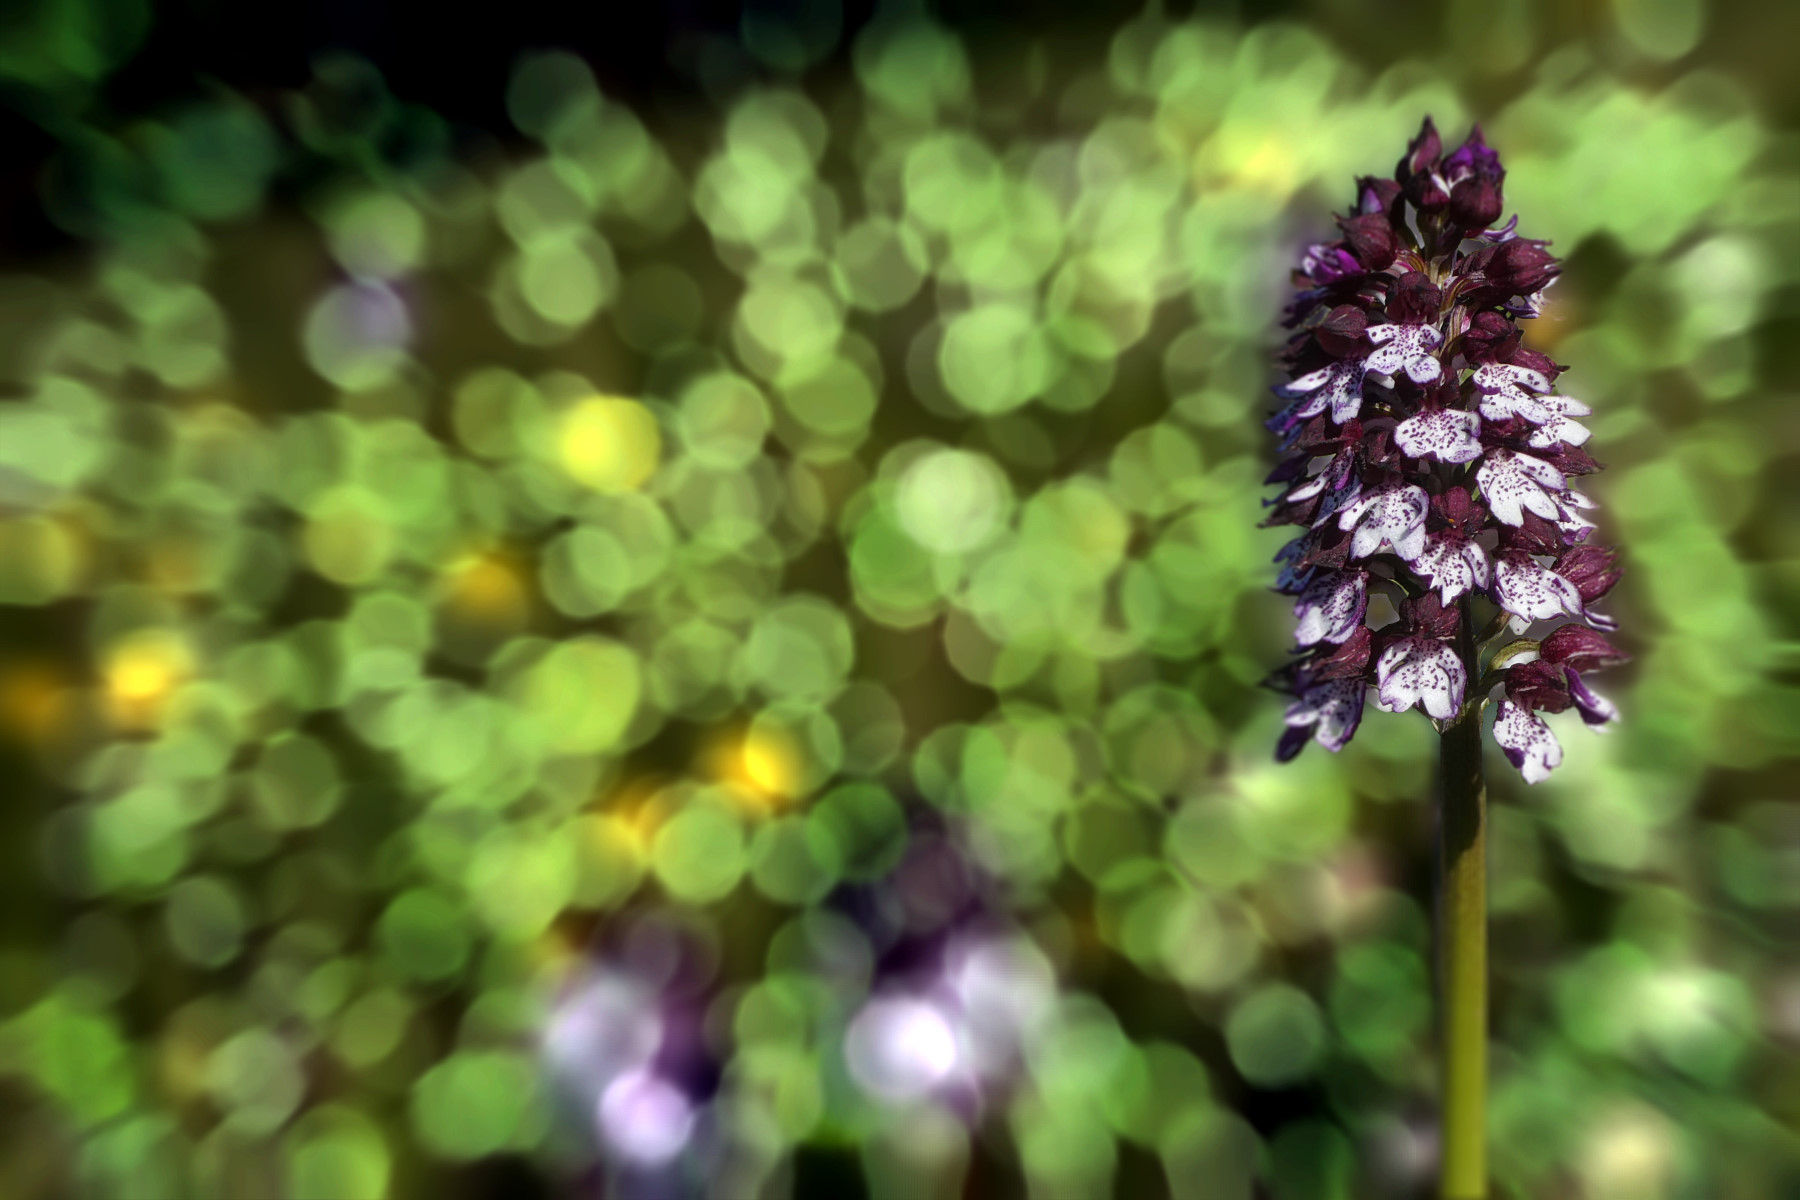
The result of Bokeh effect.
Click on this image to zoom.
|