This tutorial you learn the use of the Layers Palette.
 Step 1 Step 1
Create a new image with a size of 850 x 650 pixels and background white color.
 Step 2 Step 2
Now, select the texture NT0517 into the ToolPalette and click to Generate.
 Step 3 Step 3
Then, in the Layers Palette, click to select the Background.
 Step 4 Step 4
Now, select the texture NT0435 into the ToolPalette and click to Generate. A new layer is automatically added to the image.
 Step 5 Step 5
Then, select the frame Frame034 into the ToolPalette and click to Generate.
 Step 6 Step 6
Now, in the Layers Palette, click to select the Layer 1.
 Step 7 Step 7
Then, select the frame Frame001 into the ToolPalette and click to Generate.
 Step 8 Step 8
Now, in the Layers Palette, click to select the Background.
 Step 9 Step 9
Then, copy and paste the background in the new layer.
 Step 10 Step 10
Now, adjust the opacity of this new layer to 30 %.
 Step 11 Step 11
In the Layers menu, click to New Bitmap Layer for add an image. Choose an image file and click to Open.
 Step 12 Step 12
Then, select the frame Frame035 into the ToolPalette and click to Generate.
 Step 13 Step 13
In the Image menu, click to Free Transform tool.
 Step 14 Step 14
Then, set the rotation angle to -22° and click to validate the transformation.
 Step 15 Step 15
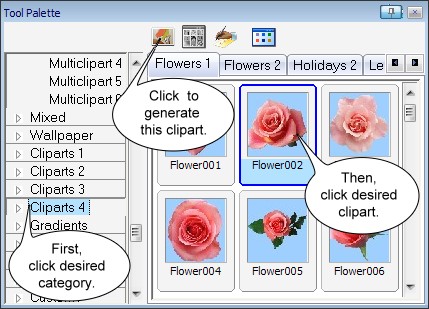
Now, select the clipart Flower002 into the ToolPalette and click to Generate. Repeat this several times.


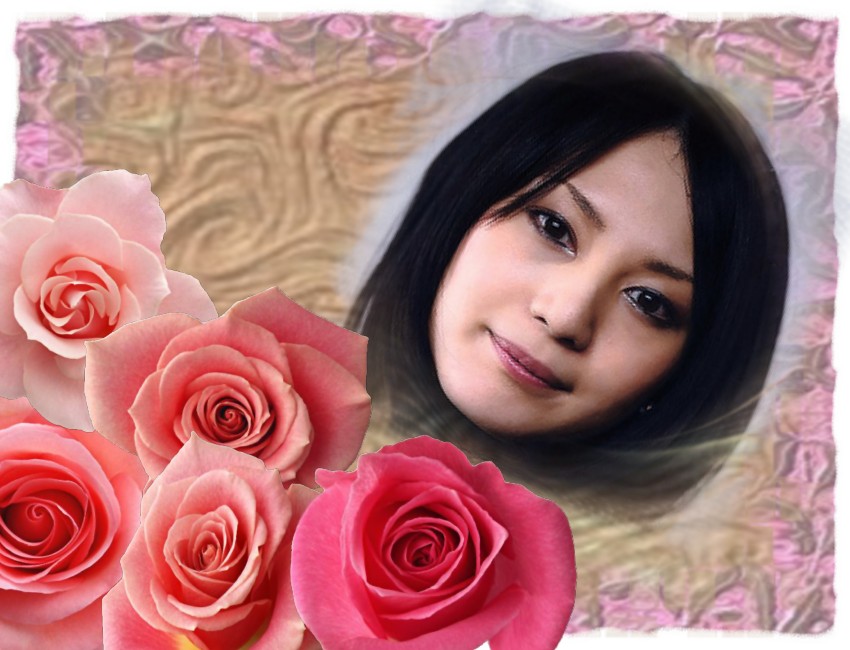
The result of this photo collage.
|